Water Heater Maintenance: Essential DIY Tasks Every Homeowner Should Know
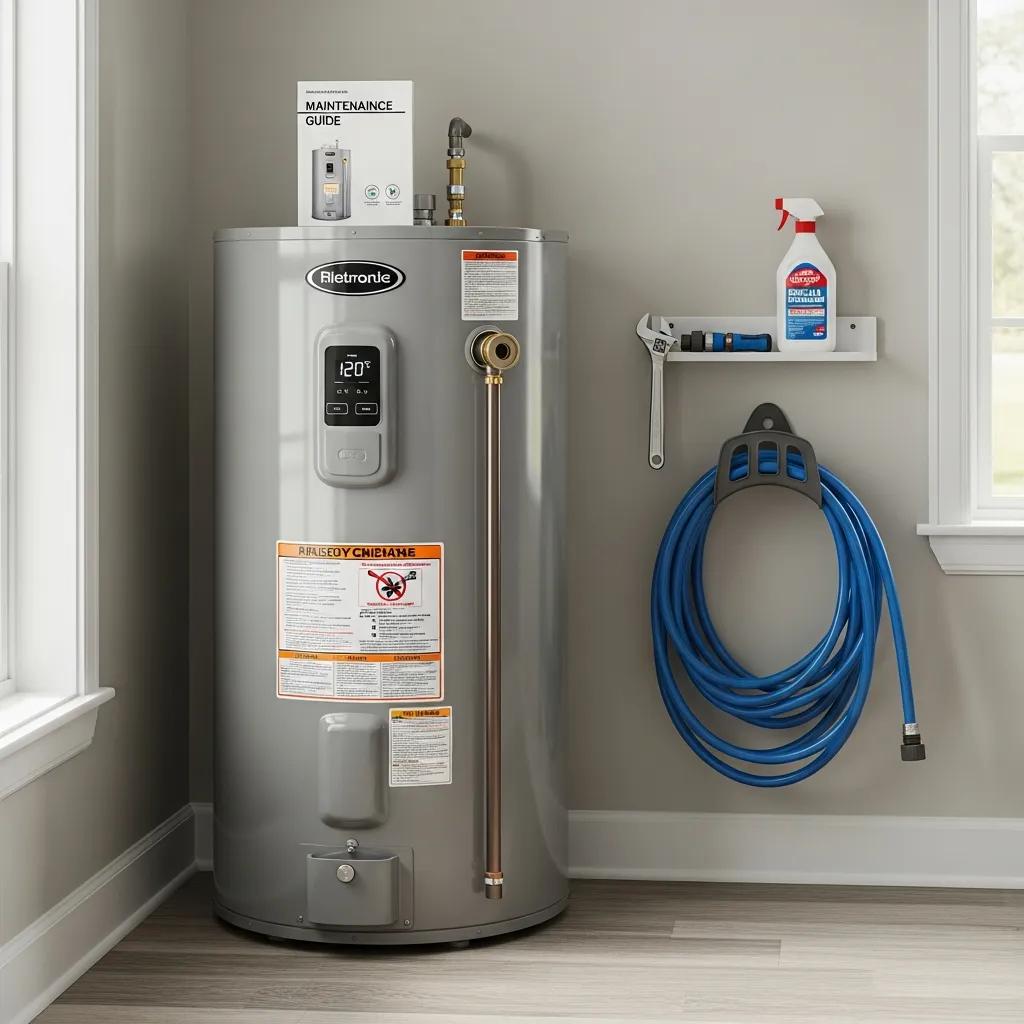
Maintaining your water heater is crucial for ensuring its efficiency and longevity. Regular maintenance not only helps in preventing costly repairs but also enhances the performance of your water heater. In this article, we will explore essential DIY tasks that every homeowner should know to keep their water heater in optimal condition. From flushing the tank to checking the temperature and pressure relief valve, these tasks are straightforward and can save you time and money in the long run. We will also discuss the importance of replacing the anode rod and optimizing temperature settings for energy efficiency. By following these guidelines, you can ensure that your water heater operates smoothly and efficiently.
How Often Should You Flush Your Water Heater to Remove Sediment?
Flushing your water heater is an essential maintenance task that helps remove sediment buildup, which can affect the efficiency and lifespan of the unit. Sediment, primarily composed of minerals like calcium and magnesium, accumulates at the bottom of the tank over time. This buildup can lead to overheating, reduced efficiency, and even tank failure if not addressed regularly. Homeowners should aim to flush their water heater at least once every 6 to 12 months to maintain optimal performance and prevent potential issues.
What Is Sediment Buildup and Why Does It Affect Efficiency?
Sediment buildup occurs when minerals in the water settle at the bottom of the water heater tank. This accumulation can insulate the water from the heating element, causing the heater to work harder to maintain the desired temperature. As a result, energy efficiency decreases, leading to higher utility bills. Additionally, excessive sediment can cause the tank to overheat, potentially leading to leaks or tank failure. Regular flushing helps mitigate these risks by removing the sediment and allowing the heater to operate efficiently.
Step-by-Step Guide: How to Flush a Water Heater Safely
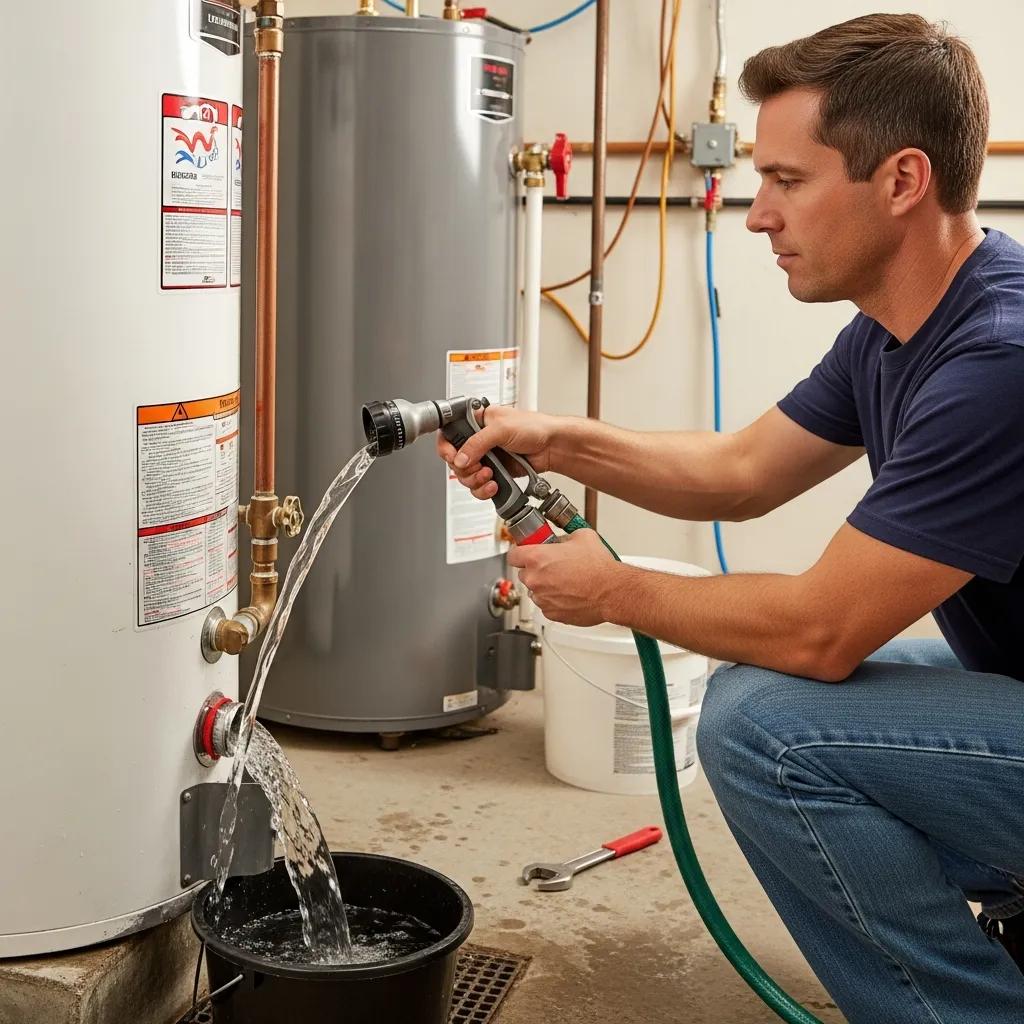
Flushing your water heater is a straightforward process that can be done in a few simple steps:
- Turn Off the Power: For electric heaters, switch off the circuit breaker. For gas heaters, turn the thermostat to the “pilot” setting or turn off the gas supply.
- Connect a Hose: Attach a garden hose to the drain valve at the bottom of the tank.
- Open the Drain Valve: Open the valve to allow the water to flow out. Be cautious, as the water may be hot.
- Flush the Tank: Allow the water to run until it runs clear, indicating that sediment has been removed.
- Close the Valve and Refill: Close the drain valve, remove the hose, and refill the tank by turning on the water supply. Restore power or gas to the heater.
By following these steps, homeowners can effectively flush their water heaters and maintain their efficiency.
How Do You Test and Replace the Water Heater T&P Valve for Safety?
The temperature and pressure relief (T&P) valve is a critical safety feature in water heaters. It prevents excessive pressure buildup, which can lead to tank explosions. Regular testing and replacement of the T&P valve are essential for ensuring the safety of your water heater.
What Is the Function of the Temperature and Pressure Relief Valve?
The T&P valve is designed to release water if the temperature or pressure inside the tank exceeds safe levels. This mechanism prevents dangerous situations, such as tank ruptures or explosions. Homeowners should familiarize themselves with the T&P valve’s function and ensure it is in good working condition.
When and How Should You Perform a T&P Valve Test?
Testing the T&P valve should be done at least once a year. To test the valve:
- Locate the Valve: Find the T&P valve on the side or top of the water heater.
- Lift the Lever: Carefully lift the lever on the valve to release a small amount of water. You should hear a hissing sound, indicating that the valve is functioning properly.
- Check for Leaks: After testing, ensure that the valve seals properly and does not leak. If it does, it may need to be replaced.
If the valve is faulty, it is crucial to replace it immediately to maintain safety.
When and How Should You Replace the Water Heater Anode Rod to Prevent Corrosion?
The anode rod is a vital component of your water heater that helps prevent corrosion. It attracts corrosive elements in the water, thereby protecting the tank from rust and extending its lifespan.
What Is an Anode Rod and How Does It Protect Your Water Heater?
An anode rod is typically made of magnesium, aluminum, or a combination of aluminum and zinc and is installed inside the water heater tank. Its primary function is to corrode instead of the tank, which helps prevent rust and extends the life of the water heater. Regular inspection and replacement of the anode rod are essential for maintaining the integrity of the tank.
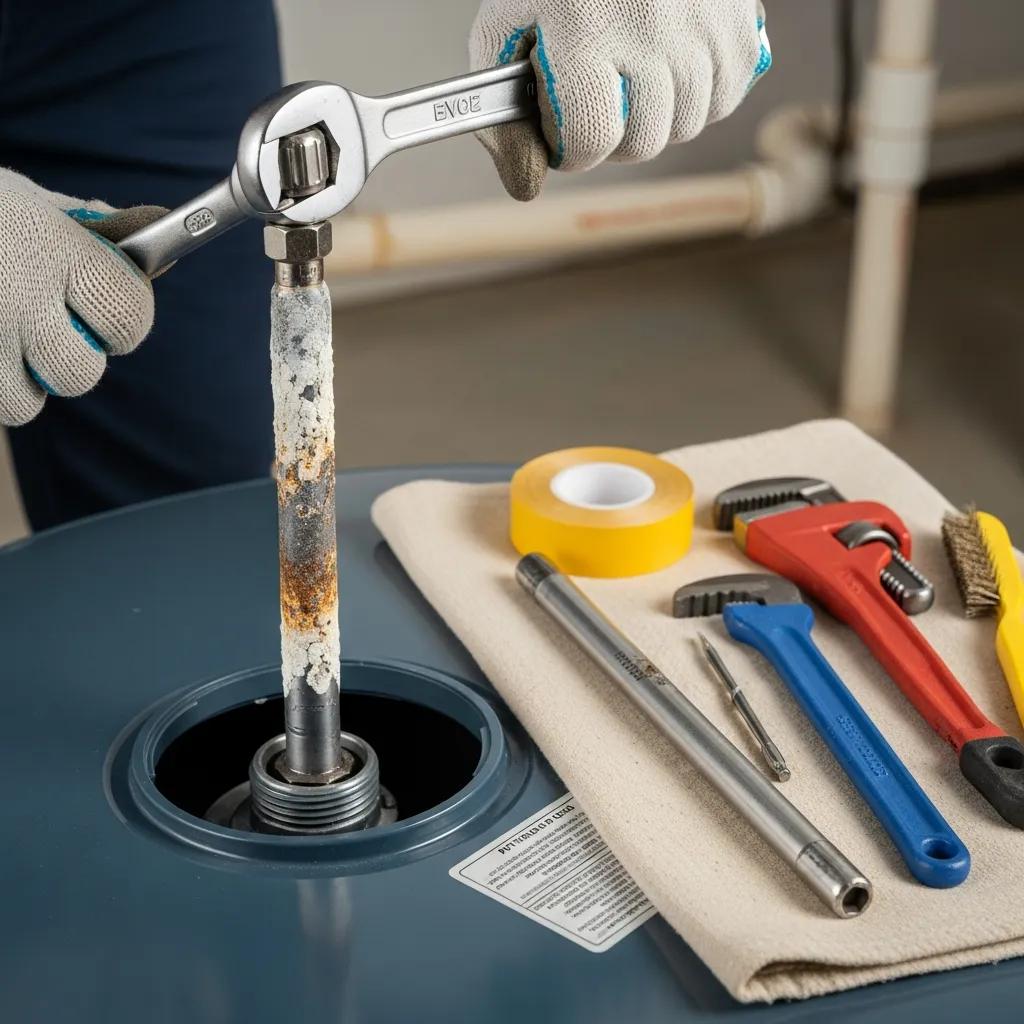
Signs Your Anode Rod Needs Replacement and DIY Replacement Steps
Homeowners should check the anode rod every 3 to 5 years, depending on water quality and usage. Signs that it needs replacement include:
- Corrosion: If the rod is heavily corroded or has less than 1/2 inch of material left.
- Rusty Water: If the hot water has a rusty color, it may indicate that the tank is corroding.
To replace the anode rod:
- Turn Off the Power: As with flushing, ensure the power is off.
- Drain the Tank: Drain a portion of the tank to reduce pressure.
- Remove the Old Rod: Use a socket wrench to unscrew the old anode rod.
- Install the New Rod: Screw in the new anode rod and ensure it is tight.
- Refill the Tank: Restore the water supply and power to the heater.
By replacing the anode rod regularly, homeowners can significantly extend the life of their water heater.
How Can You Optimize Your Water Heater’s Efficiency Through Temperature Settings and Insulation?
Optimizing your water heater’s efficiency can lead to significant energy savings. Adjusting the temperature settings and ensuring proper insulation are two effective strategies.
What Is the Ideal Water Heater Temperature for Energy Savings and Safety?
The U.S. Department of Energy recommends setting your water heater to 120 degrees Fahrenheit. This temperature is hot enough for most household needs while reducing the risk of scalding and minimizing energy consumption. Lowering the temperature can save energy and reduce wear on the heater.
How to Insulate Your Water Heater and Pipes for Maximum Efficiency
Insulating your water heater and the pipes connected to it can help maintain the water temperature and reduce energy costs. Here are some tips for effective insulation:
- Use an Insulation Blanket: Wrap the water heater with an insulation blanket designed for water heaters.
- Insulate Hot Water Pipes: Use foam pipe insulation on hot water pipes to minimize heat loss.
- Seal Gaps: Ensure that any gaps around the heater are sealed to prevent drafts.
By implementing these insulation strategies, homeowners can enhance their water heater’s efficiency and save on energy bills.
What Are Common Water Heater Problems and How Can You Troubleshoot Them?
Understanding common water heater problems can help homeowners troubleshoot issues before they escalate. Here are some frequent issues and their solutions.
How to Identify and Fix Leaks, No Hot Water, and Strange Noises
Common problems include:
- Leaks: Check for water pooling around the base of the heater. This may indicate a faulty valve or a corroded tank.
- No Hot Water: If the heater is not producing hot water, check the thermostat settings and ensure the power supply is functioning.
- Strange Noises: Banging or popping sounds may indicate sediment buildup. Flushing the tank can often resolve this issue.
When Should You Call a Professional Plumber for Water Heater Repairs?
If troubleshooting does not resolve the issue, or if you notice significant leaks or corrosion, it is time to call a professional plumber. They can assess the situation and provide necessary repairs or replacements.
| Maintenance Task | Frequency | Importance |
|---|---|---|
| Flush Water Heater | Every 6-12 months | Prevents sediment buildup |
| Test T&P Valve | Annually | Ensures safety |
| Replace Anode Rod | Every 3-5 years | Prevents corrosion |
| Insulate Heater & Pipes | As needed | Improves efficiency |
This table summarizes essential maintenance tasks for water heaters, highlighting their frequency and importance in ensuring optimal performance and safety.
By following these maintenance tips, homeowners can ensure their water heaters operate efficiently and safely, ultimately saving money and extending the life of the unit.