
How to Fix a Leaky Faucet: Step-by-Step DIY Guide with Essential Tools and Tips for Homeowners
A leaky faucet can be a frustrating issue for homeowners, leading to wasted water and increased utility bills. This comprehensive guide will walk you through the process of fixing a leaky faucet, providing essential tools and tips to make the repair as straightforward as possible. Understanding how to address this common plumbing problem not only saves money but also contributes to water conservation efforts. In this article, we will explore the common causes of faucet leaks, the tools needed for repairs, step-by-step instructions for fixing various types of faucets, troubleshooting tips, and when to call a professional plumber. By the end, you’ll be equipped with the knowledge to tackle a leaky faucet confidently.
What Are the Common Causes of a Leaky Faucet?
A leaky faucet can stem from several common issues, often related to worn-out parts or improper installation. Identifying the root cause is essential for effective repair.
Which Faucet Parts Typically Cause Leaks?
The most common parts that lead to leaks include:
- Washer: Over time, washers can wear out, leading to drips.
- Cartridge: A faulty cartridge can cause leaks in cartridge faucets.
- O-ring: This small rubber ring can deteriorate, resulting in leaks around the handle.
Understanding these components helps homeowners pinpoint the source of the leak and take appropriate action.
How Can You Identify the Source of a Faucet Drip?
To identify the source of a faucet drip, follow these steps:
- Visual Inspection: Look for water pooling around the faucet base or dripping from the spout.
- Testing Methods: Turn the faucet on and off to see if the leak persists, which can indicate whether the issue is with the handle or the spout.
By systematically checking these areas, you can effectively determine where the leak originates.
What Tools and Materials Do You Need for Faucet Repair?
Having the right tools and materials is crucial for a successful faucet repair. Below is a list of essential items you will need.
Which Plumbing Repair Tools Are Essential for DIY Faucet Fixes?
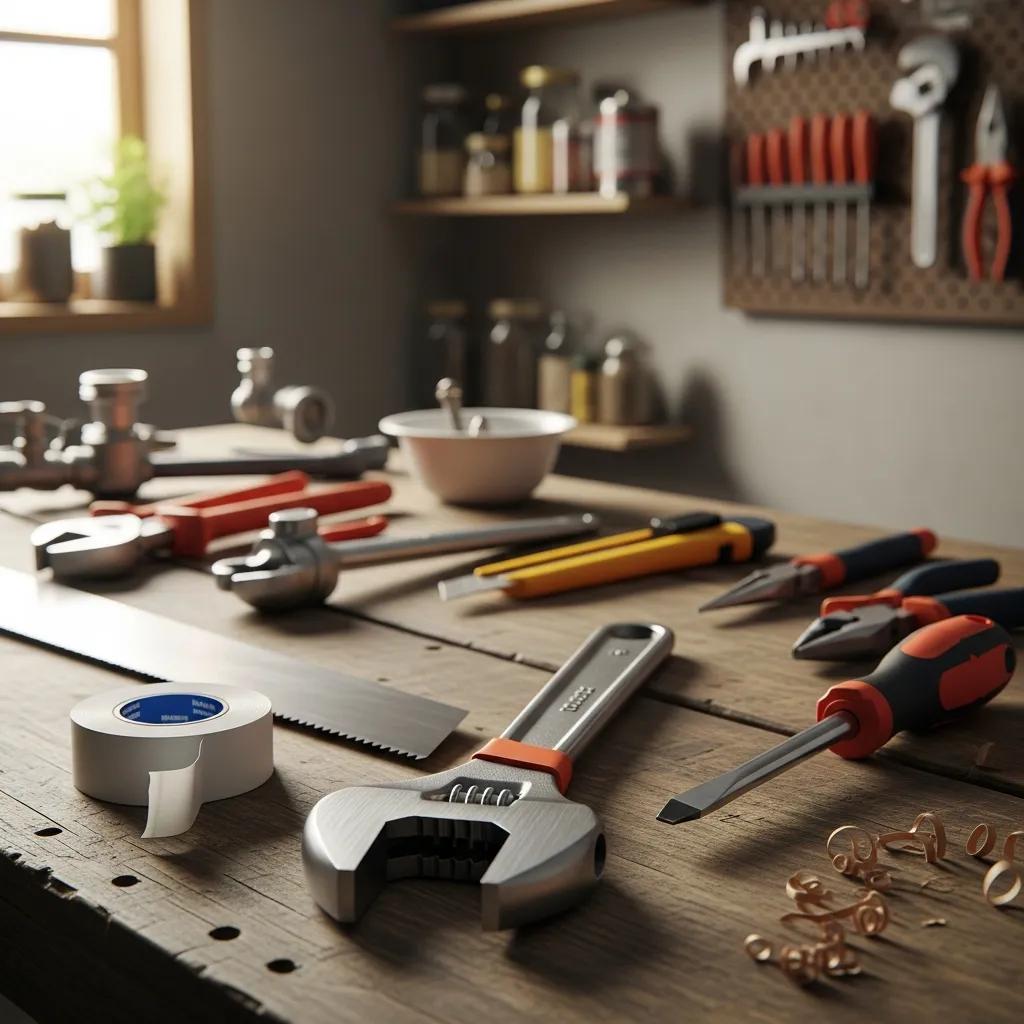
The following tools are essential for fixing a leaky faucet:
- Adjustable Wrench: Useful for loosening and tightening nuts and bolts.
- Screwdriver: Needed for removing screws on the faucet handle.
- Plumber’s Tape (Teflon Tape): Helps create a watertight seal on threaded connections.
These tools will make the repair process smoother and more efficient.
How to Prepare Replacement Parts Like Faucet Washers and Cartridges?
When preparing to replace parts, consider these steps:
- Choosing the Right Size: Ensure you have the correct size washer or cartridge for your faucet model.
- Installation Tips: Follow the manufacturer’s instructions for installing new parts, ensuring a snug fit to prevent future leaks.
Proper preparation of replacement parts is key to a successful repair.
How to Fix a Leaky Faucet: Step-by-Step Repair Instructions
Fixing a leaky faucet can be accomplished with a few straightforward steps. Below is a detailed guide to help you through the process.
What Are the Detailed Steps to Replace a Faucet Washer?
To replace a faucet washer, follow these steps:
- Turn Off Water Supply: Locate the shut-off valves under the sink and turn them off.
- Remove the Handle: Use a screwdriver to take off the handle, exposing the washer.
- Remove the Packing Nut and Stem: Use an adjustable wrench to loosen the packing nut, then remove the stem to access the washer.
- Replace the Washer: Remove the old washer and replace it with a new one, ensuring it fits snugly.
- Reassemble the Faucet: Put the stem and handle back on, tighten all nuts, and turn the water supply back on to test for leaks.
This process can effectively eliminate drips caused by worn washers.
How Do You Fix Common Faucet Types Like Kitchen and Bathroom Faucets?
Different faucet types may require slightly different approaches. Here’s a brief overview:
- Compression Faucets (common in bathrooms): Typically use washers; follow the steps for replacing a washer.
- Cartridge Faucets (common in kitchens and bathrooms): Replace the cartridge if leaks persist after washer replacement.
- Ball and Disc Faucets: May require replacing internal parts specific to the mechanism.
Understanding the specific type of faucet you have will guide your repair process.
What Troubleshooting Tips Help Resolve Persistent Faucet Leaks?
If your faucet continues to leak after repairs, consider these troubleshooting tips.
How to Diagnose and Fix Faucet Handle Tightening Issues?
Sometimes, leaks can occur due to a loose handle. To fix this:
- Tighten the Handle: Use a screwdriver to tighten any screws on the handle.
- Check for Damage: Inspect the handle for cracks or wear that may require replacement.
Addressing handle issues can often resolve persistent leaks.
When Is Faucet Cartridge Replacement Necessary?
If leaks persist despite tightening, it may be time to replace the cartridge. Signs that indicate cartridge failure include:
- Continuous Dripping: Water continues to drip even when the faucet is off.
- Difficulty Turning the Handle: If the handle feels stiff or unresponsive, the cartridge may be worn out.
Replacing the cartridge can restore proper function to your faucet.
When Should You Call a Professional Plumber for Faucet Repair?
While many faucet repairs can be handled by homeowners, some situations require professional assistance.
What Are the Signs That Require Expert Plumbing Services?
Consider calling a plumber if you notice:
- Persistent Leaks: If leaks continue after multiple repairs.
- Water Damage: Signs of water damage around the sink area.
- Complex Repairs: If the faucet mechanism is complicated or requires specialized tools.
Recognizing these signs can save you time and prevent further damage.
How to Find Trusted Local Plumbers for Faucet Repair Referrals?
To find reliable plumbers, consider these methods:
- Online Reviews: Check platforms for customer feedback on local plumbing services.
- Local Directories: Use directories to find licensed plumbers in your area.
- Word of Mouth: Ask friends or family for recommendations based on their experiences.
Finding a trusted plumber can ensure your faucet repair is handled professionally.
How Does Fixing a Leaky Faucet Contribute to Water Conservation?
Addressing faucet leaks is not just about saving money; it also plays a significant role in water conservation.
What Are the Environmental Benefits of Timely Faucet Repairs?
Fixing leaks promptly can lead to substantial water savings. A single dripping faucet can waste hundreds of gallons of water over time, contributing to environmental degradation. By repairing leaks, homeowners can help conserve this vital resource.
How Much Water Can You Save by Stopping Faucet Drips?

Research indicates that a leaky faucet can waste over 3,000 gallons of water annually if left unrepaired. By fixing leaks, homeowners not only reduce their water bills but also contribute to broader water conservation efforts, making a positive impact on the environment.
| Tool | Purpose | Description |
|---|---|---|
| Adjustable Wrench | Loosening/Tightening | Essential for securing nuts and bolts during repairs. |
| Screwdriver | Handle Removal | Necessary for accessing internal components of the faucet. |
| Plumber’s Tape | Sealing | Creates a watertight seal on threaded connections to prevent leaks. |
This table highlights the essential tools needed for effective faucet repair, ensuring that homeowners are well-equipped to tackle leaks efficiently.
In summary, understanding how to fix a leaky faucet empowers homeowners to take control of their plumbing issues. By identifying common causes, utilizing the right tools, and following step-by-step instructions, you can effectively address leaks and contribute to water conservation efforts.